Hey there, and welcome back to our latest set of tutorials on how to use Firebase with React Native. Part 1 of this tutorial featured the ins and outs of how to create a ‘to-do’ app, including adding tasks as well as removing and updating lists; but all these functions were made offline… until NOW. In Part 2 of this tutorial, you’ll be working on a connection between your app and Firebase itself. To get started you’ll need a Google account.
Creating a project in Firebase
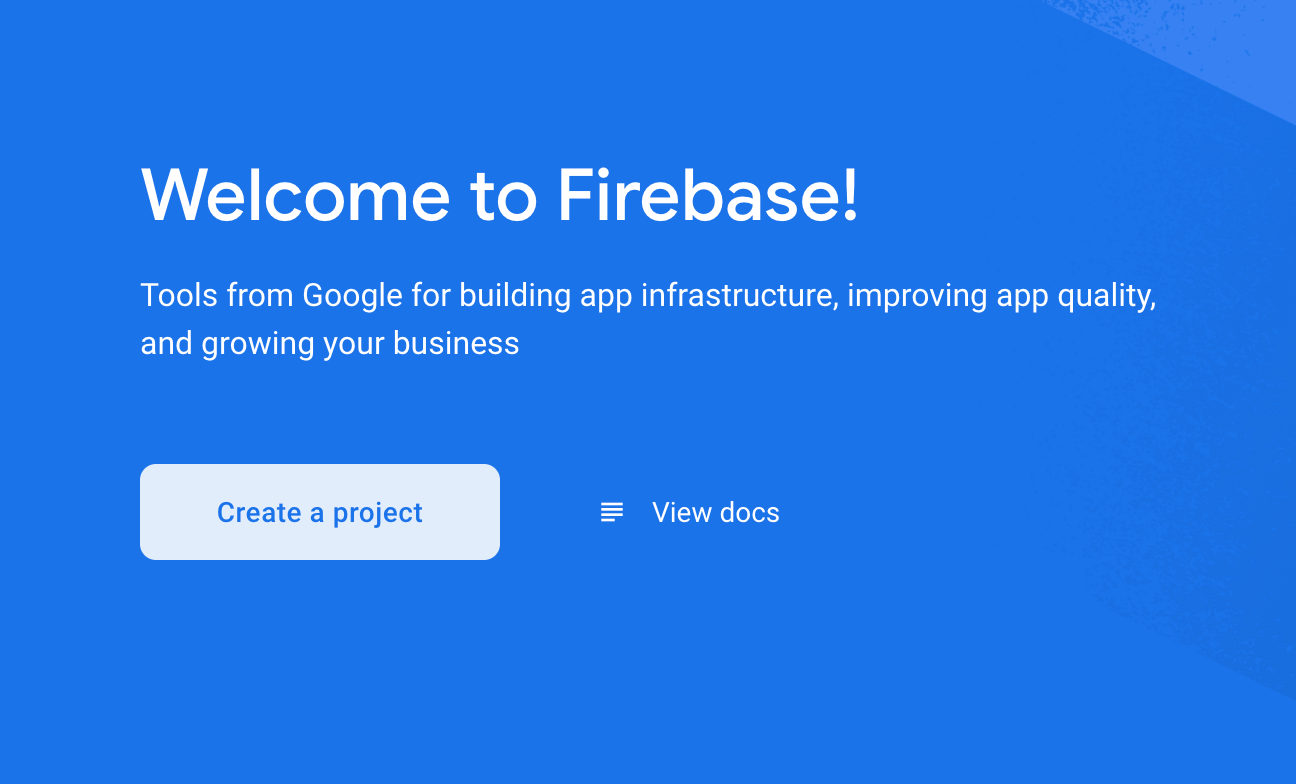
Start by opening the Firebase Console. If you haven’t already logged in, do this now and click ‘Create Project’:
On the following page, set the name of the project - you can choose whatever you'd like.
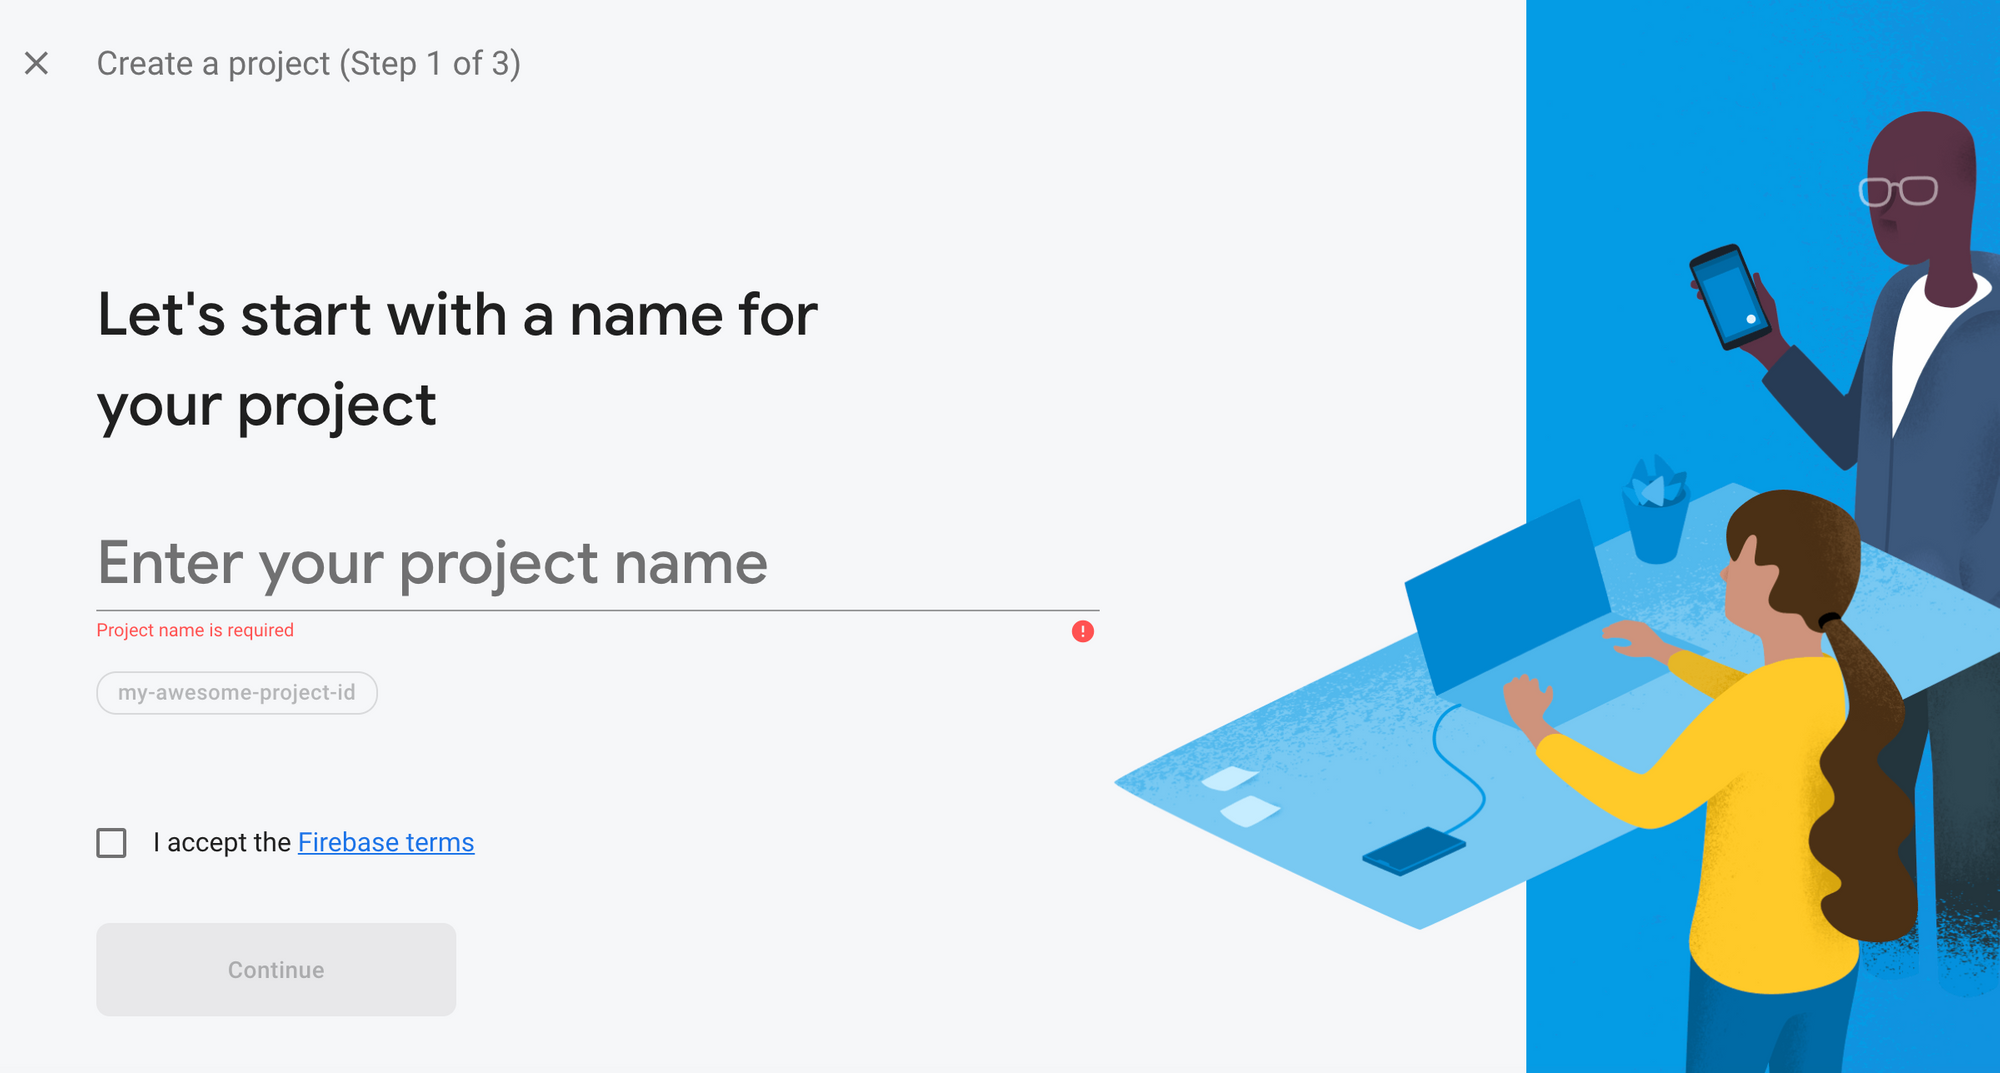
Press continue twice, accept the terms and conditions and then select ‘Create Project’. Once created, you’ll be able to see your console in full. Note that all projects in Firebase start with the ‘Spark’ plan which is completely free, so if you’d like to build a test project, this would be our recommendation.
Choosing your Database
Select the database menu on the left-hand side:
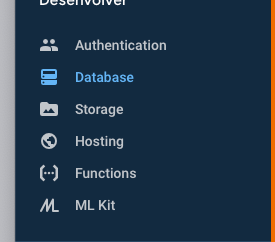
You should see two options. The main option is Cloud Firestore but there’s also Realtime Database which is the one you’ll be using today. Click ‘Create Database’:

A prompt will ask you if you’d like to start in either ‘Secure’ or ‘Test’ mode - make sure to select 'test'.
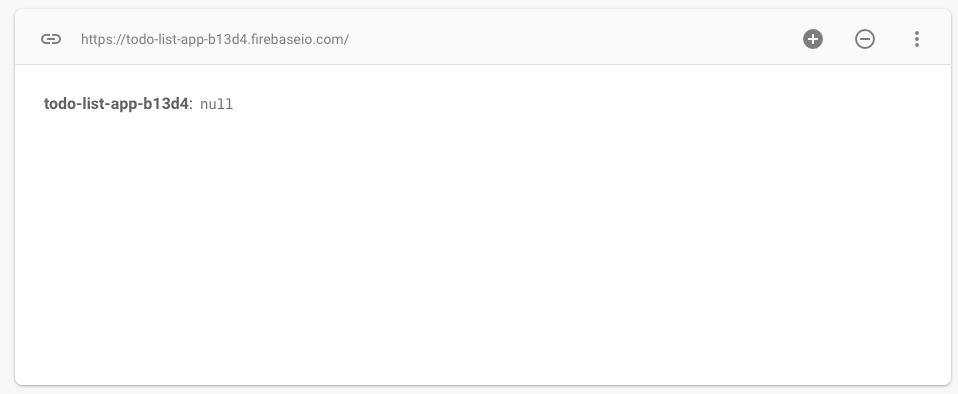
This is what your database should look like so far:
Setting Firebase in the App
You’ll need to install Firebase within your app first, so execute the below command in the terminal:
npm i --save firebase
Open the project overview again, and click the web icon to add Firebase to your application:

Type the name of your application once more and you’ll be able to use the ‘to do’ and ‘register’ functions within the app. Right after registering the app, you’ll see the below board which features the following code:
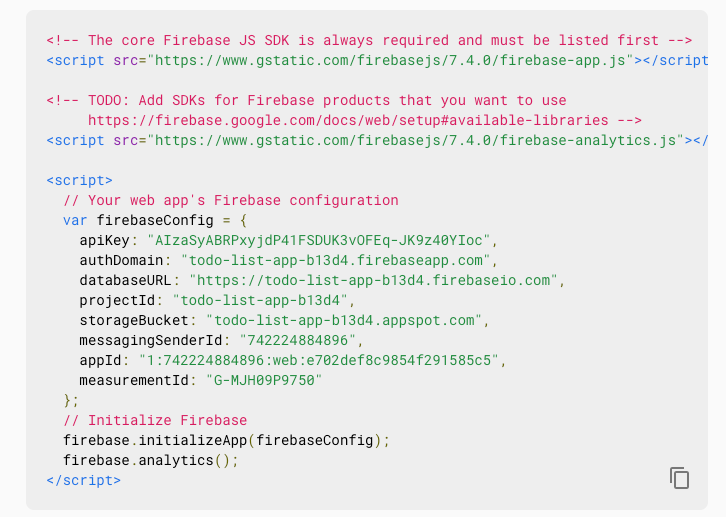
Here you’ll need the variable with the Firebase configuration:
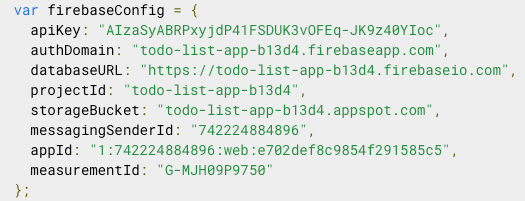
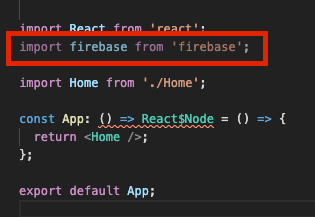
Copy the values, open the file ‘App.js’ within your project and import the Firebase library:
Now paste your configuration. Make sure that you don't do this in a variable and instead use a ‘const’:
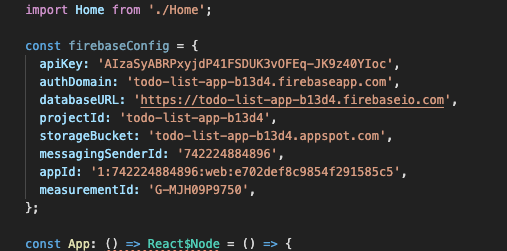
Set the above configurations in Firebase:

Your app should now be ready to use with the additional Firebase features. For part 3 of this tutorial, you’ll learn how to stop using local functions and instead use Firebase as your overall server.


